How To Replace A Vape Coil: Step By Step Instructions
In this guide we will take you through the coil changing process in 8 simple steps, helping you to master this vital aspect of vape kit maintenance.
What Is A Vape Coil & Why Do They Need Replacing?
Vape coils are one of the most important parts of a vape kit. They are the part responsible for turning e-liquid into a vapour we can inhale.
They consist of a coil of wire or a wire mesh screen covering a wick, often cotton.
The coil sits inside the vape tank or pod, and the wick absorbs the e-liquid. When we fire up a vape kit, the current from the battery passes through the coil wire, heating it up and vaporising the e-liquid soaked into the wick.
Coils degrade and ultimately fail over time because regular heating and cooling, as well as absorbing and evaporating e-liquid, wear out both the coil wire and wick.
A degraded coil near the end of its life will negatively impact flavour, vapour, and general vape performance, which is why it is important to know when and how to change them.

Remember: Not All Vape Coils Work In The Same Way
Before we get into the step-by-step guide for changing a vape coil, it's important to understand that not all coils work in quite the same way.
These can be little differences like some being screw-fit while others are simple push-fit designs, or more complex differences like some coils being removable while others are built into pods as a combined unit.
The step-by-step guidance we will provide below covers the broadest and most generic coil-changing scenarios you are likely to experience.
If, however, you find the instructions here do not match your vape kit, we recommend finding the manual that came with the device, as these almost always include guidance on changing coils and other maintenance.
If you do not have access to your device's manual, our UK-based customer service team are always ready to help explain things and get your vape set up properly.
How To Change Your Vape Coil In 8 Simple Steps
Remove Your Vape Tank/Pod
If using a vape tank: gently unscrew the tank to detach it from the battery unless otherwise specified by the kit's manual.
If using a vape pod: simply remove the pod from the battery's magnetic connectors.
In either case, ensure any remaining e-liquid has been emptied from the tank/pod before attempting step 2.
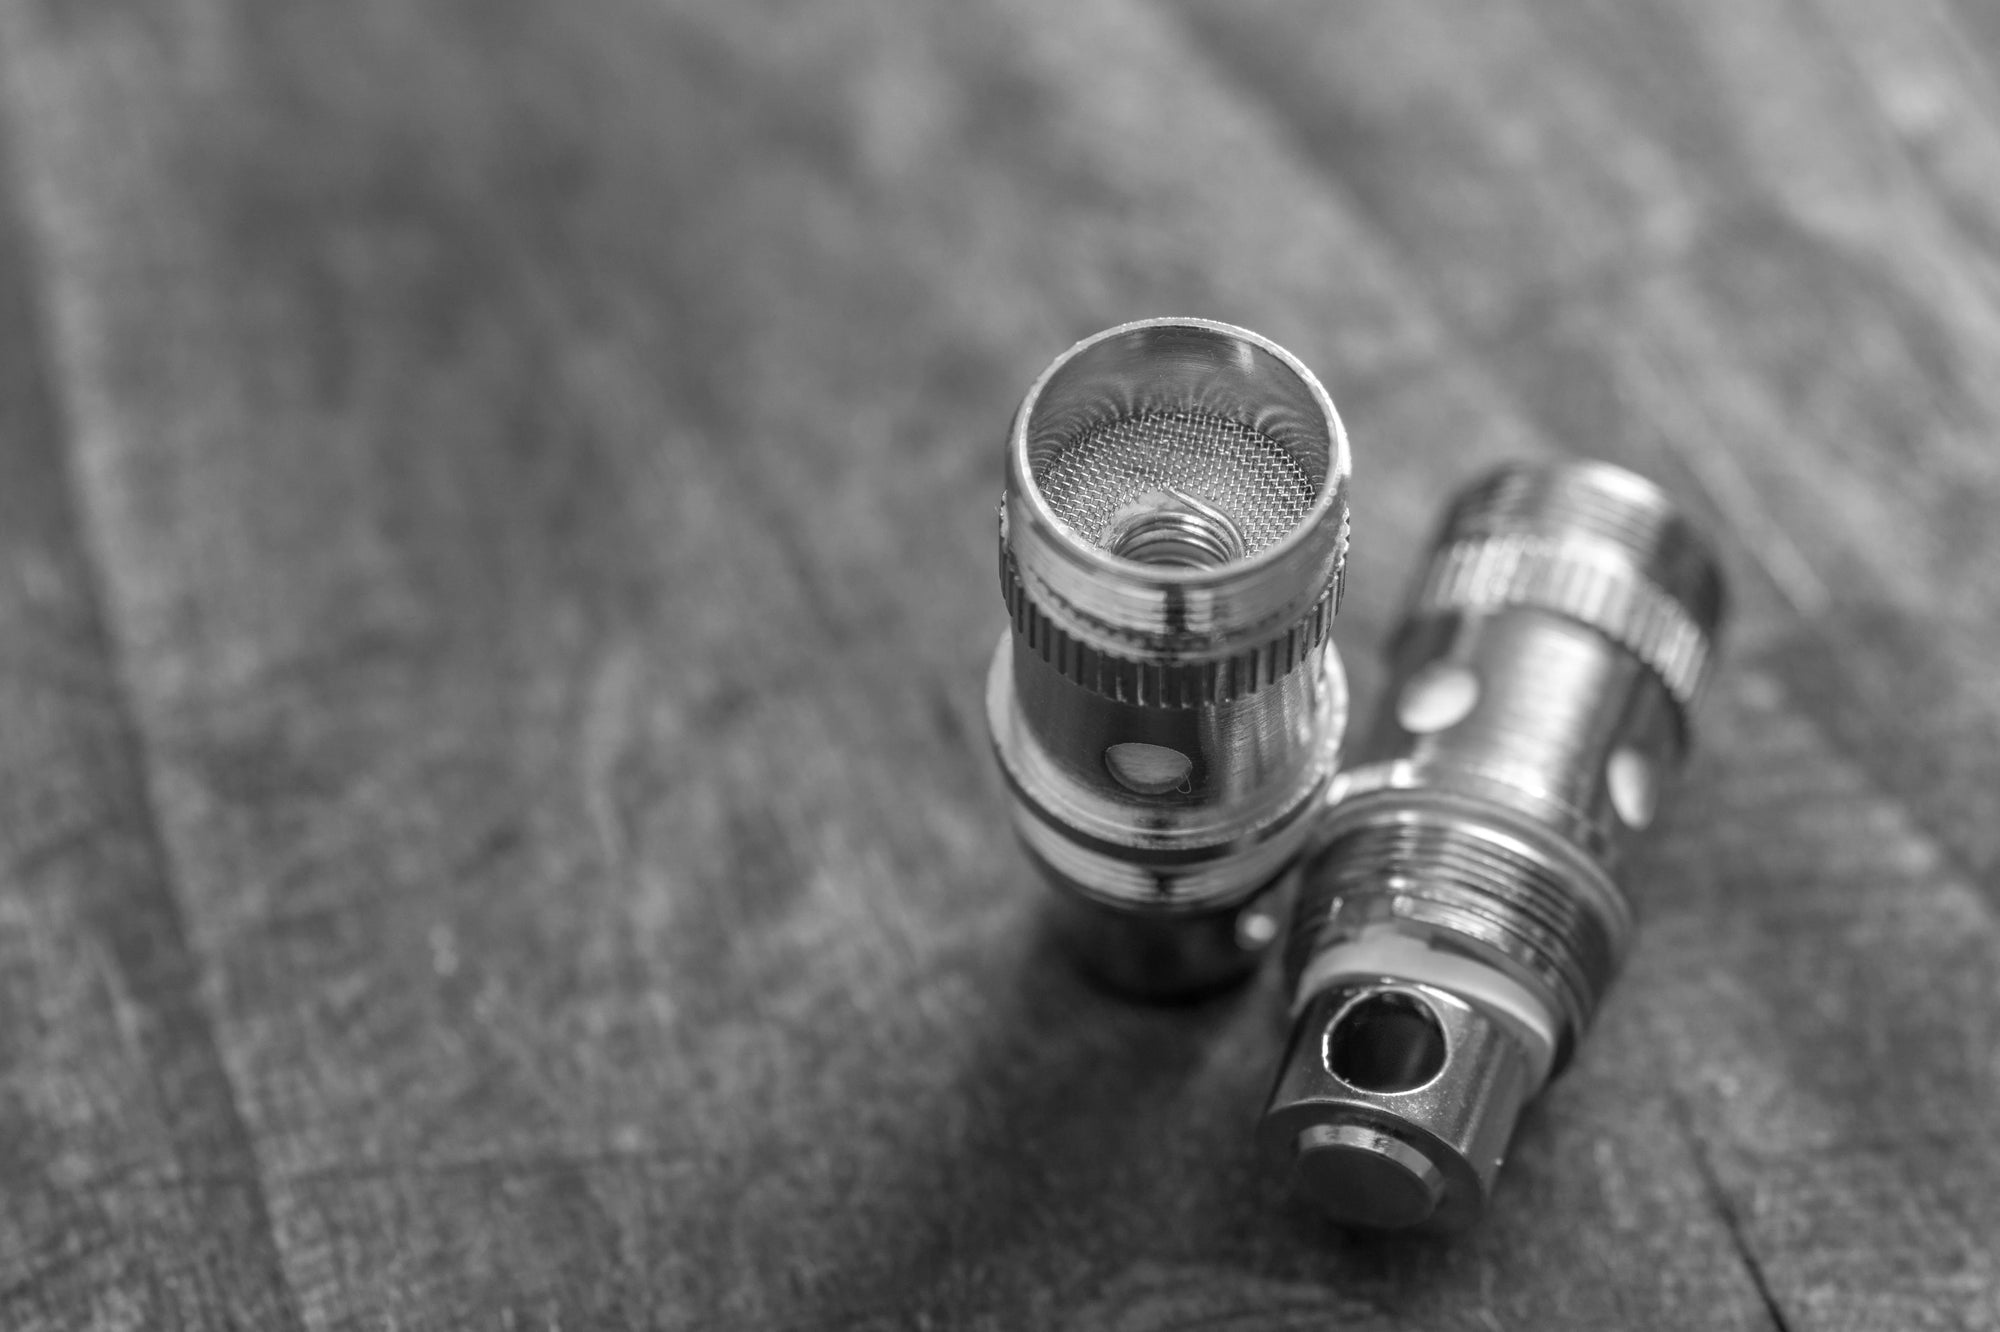
Carefully Remove The Old Vape Coil
If using a vape tank: for push-fit coils, look for an indentation that allows you to get leverage with a fingernail or other flat tool and gently prise out the old coil. For screw-fit coils, you will need to carefully unscrew the old coil, taking care not to damage any threading.
If using a vape pod with removable coils: gently prise out the old coil from the pod housing.
If using a vape pod with a built-in coil: the entire pod must be replaced - you can skip ahead to step 6.
Always discard your old vape coils in your general waste or according to local regulations, they cannot be recycled, as they have been in contact with nicotine.
Clean & Check The Vape Tank/Pod For Any Issues
For both tanks and pods: once the coil has been removed, ensure the chamber it sits in has been well cleaned of any debris or e-liquid residue. Using a paper towel, cotton wool bud, or microfiber cloth is best for this as they will not leave debris behind.
Where applicable, ensure any silicone seals or O-rings are intact and located properly to avoid issues like leaking when you insert the new coil and rebuild the tank/pod.
Prime The New Vape Coil
For kits with removable coils: before inserting the new vape coil, we recommend priming the new coil to reduce the waiting time between swapping the coil and starting to vape again.
Priming the coil involves placing a few drops of your chosen e-liquid onto the wicking ports of the new coil. This allows it to start absorbing as you continue installing it, and means the wick won't be dry even before you top up the tank/pod with vape juice.
This reduces downtime but also protects the wick from burning if you accidentally fire the device before you have had a chance to add fresh e-liquid.
Carefully Insert The New Vape Coil
For kits with push-fit coils: ensuring the coil is aligned correctly with the opening in the tank/pod, carefully slide the coil into position and check that it is properly seated and secure.
For kits with screw-fit coils: carefully rotate the coil into place, ensuring you do not cross-thread it. Screw-fit coils can sometimes be a little tricky to properly attach, and may feel as if they are screwed-in as far as they will go when they actually need an extra twist.
Remember, a coil that is not properly inserted may not always be obvious or prevent the tank/pod from fitting back together, but this will lead to leaks and connectivity issues unless properly fitted - take your time to make sure it's right before adding fresh e-liquid to the vessel.
Rebuild The Vape Tank/Pod
If using a vape tank: with the new coil fitted, ensure all silicon O-rings and seals are located properly as you put the tank back together. Make sure to properly inspect it to ensure nothing is cross-threaded and there are no gaps between interlocking parts before reattaching it to the battery.
If using a vape pod: inserting the new coil into the pod housing should be the only step you need to take to put it all back together. There may be rare exceptions, but most vape pods are convenience-first, plug-and-play by design, making them less complex to rebuild after a coil swap than most tanks.
Top-Up The Vape Tank/Pod With E-Liquid
If using a vape tank: now your coil is properly primed and installed, and the tank is securely back together and fitted, it's time to fill it up with fresh e-liquid!
Some tanks are top-fill, which means either the top section of the tank can be removed or opened to expose the e-liquid chamber and allow you to fill it up. Some have sliding sections or filling ports that can be twisted open, others may require you to fully unscrew part of the tank to refill - your device manual can help explain how your specific model works.
If using a vape pod: like tanks, different vape pods have different refilling mechanisms. Some are top-fill, and may require you to remove the mouthpiece to access a filling valve, or they may have side-mounted filling ports with silicone bungs or plugs that can be popped out to fill and then replaced carefully to prevent leaks.
If you didn't/couldn't prime your new coil: ensure you leave the e-liquid to absorb into the new coil wick for at least 5-10 minutes before vaping to avoid damaging the coil. Most pod vape kits with built-in coils cannot be primed, so this step is very important if you are using this type of device.
In either case, do not overfill your vape pod/tank, even though they generally have a 2ml capacity, it is best to leave a little headroom in the vessel to encourage proper airflow, prevent coil flooding, and help avoid leaks.
Enjoy Your New Vape Coil!
With the above steps completed, you should now be ready to start enjoying your new vape coil!
Even if you have primed your coil/left the tank/pod long enough after filling for the new wick to properly absorb the vape juice, we recommend taking short puffs at first, the allow the coil to properly activate.
If possible, set your device's power a little lower than your desired level to warm up the coil gently. Taking huge drags on higher power right away can still damage the coil, so take it easy, and before you know it your coil will be working at its best.
Once properly bedded in, you will feel all the benefits of a fresh coil, from smooth vapour production and airflow to rich, deep flavour with true clarity and depth.
Remember that when brand-new, vape coils can sometimes take a few puffs before they really start delivering clear flavour, so don't panic if it tastes a little muted at first - this is a normal part of the coil replacement process.
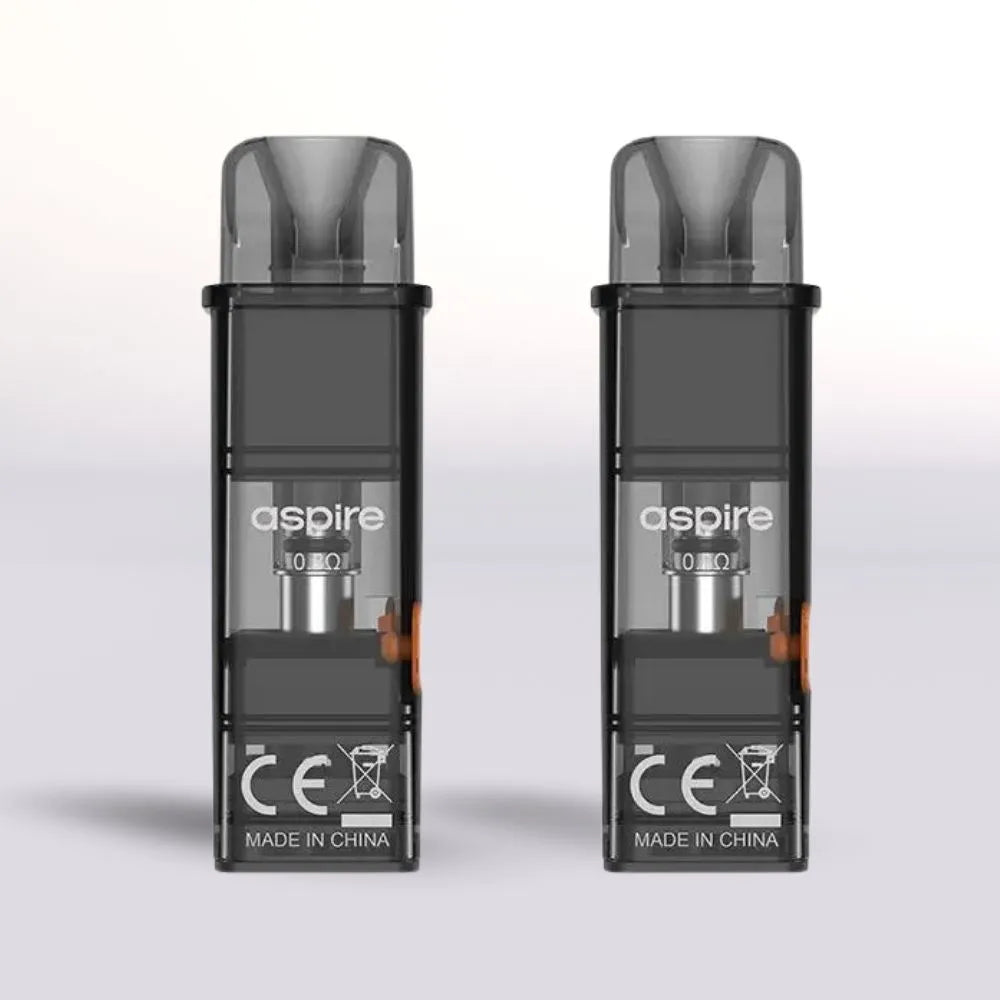
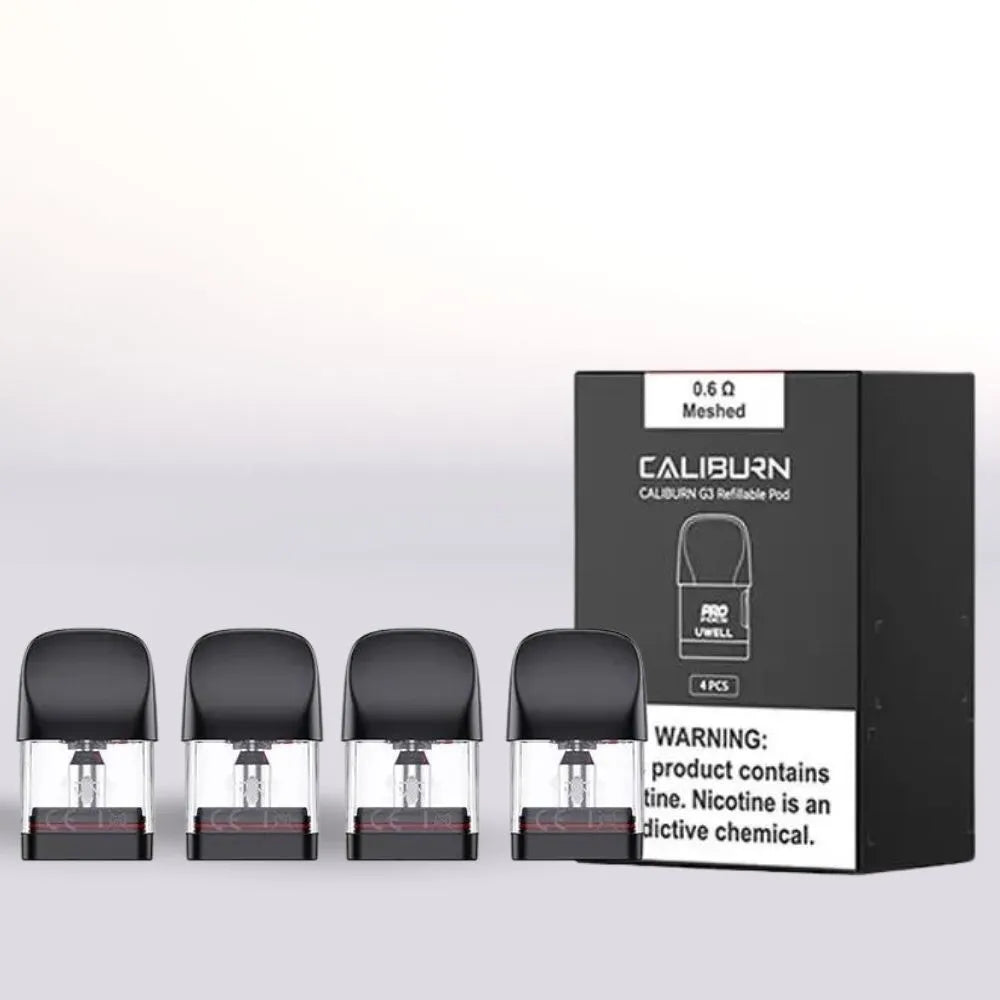
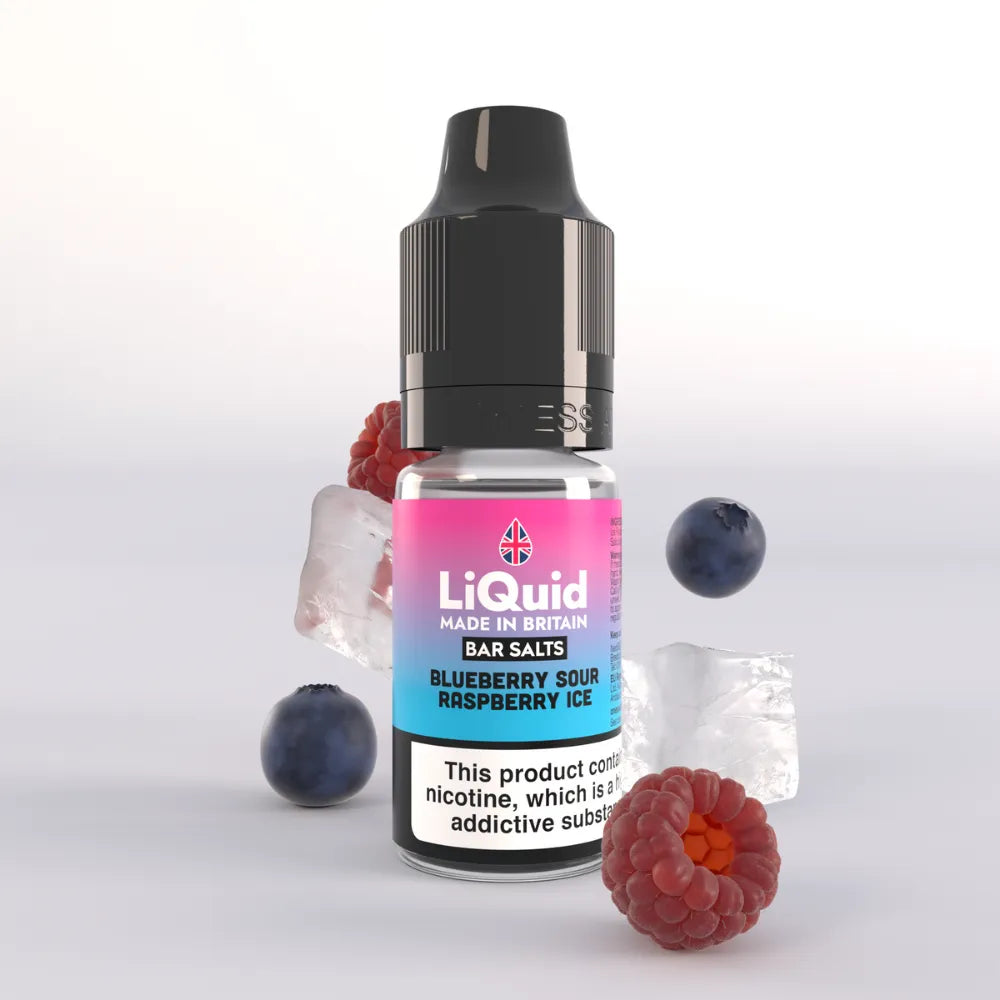
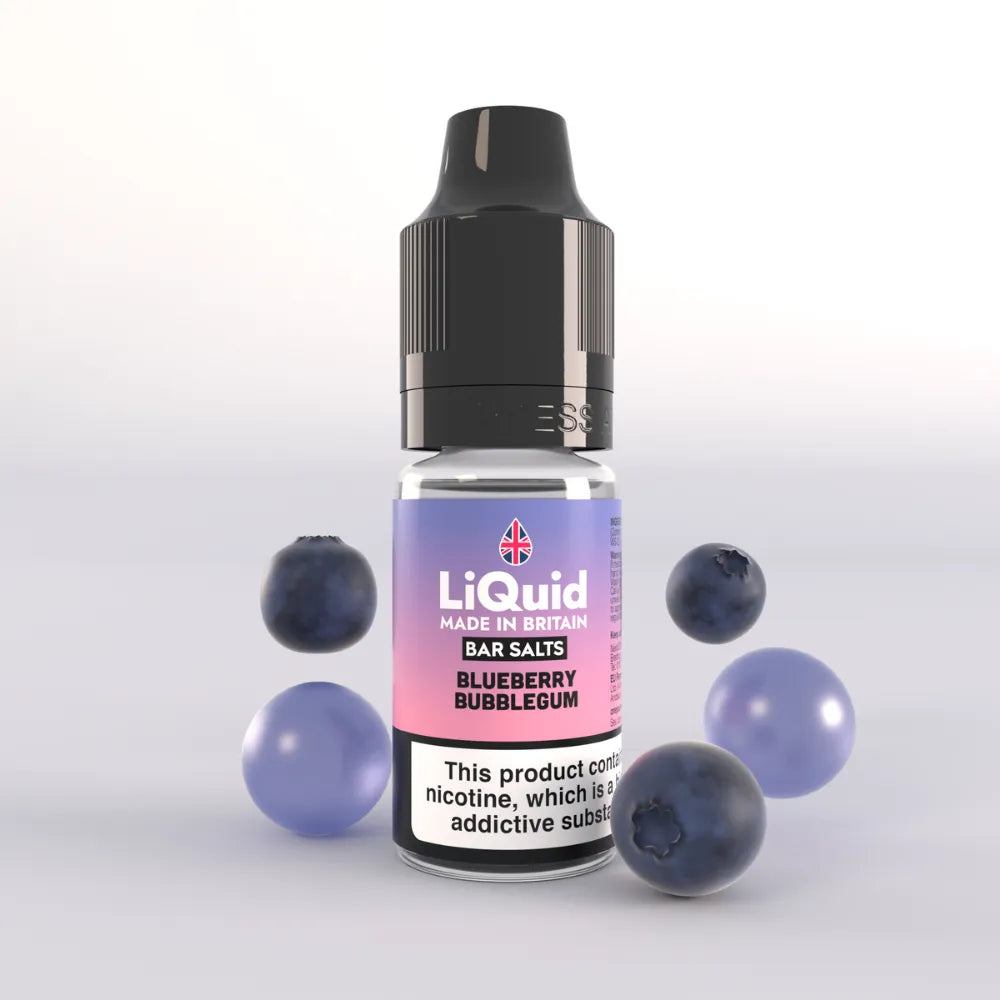
Need Fresh Vape Coils, Pods or E-Liquids? Stock Up Here
Now you know how to change a vape coil, you'll need to stock up on replacements, as well as fresh e-liquid to top up your device. Explore the ranges below to find your favourites!
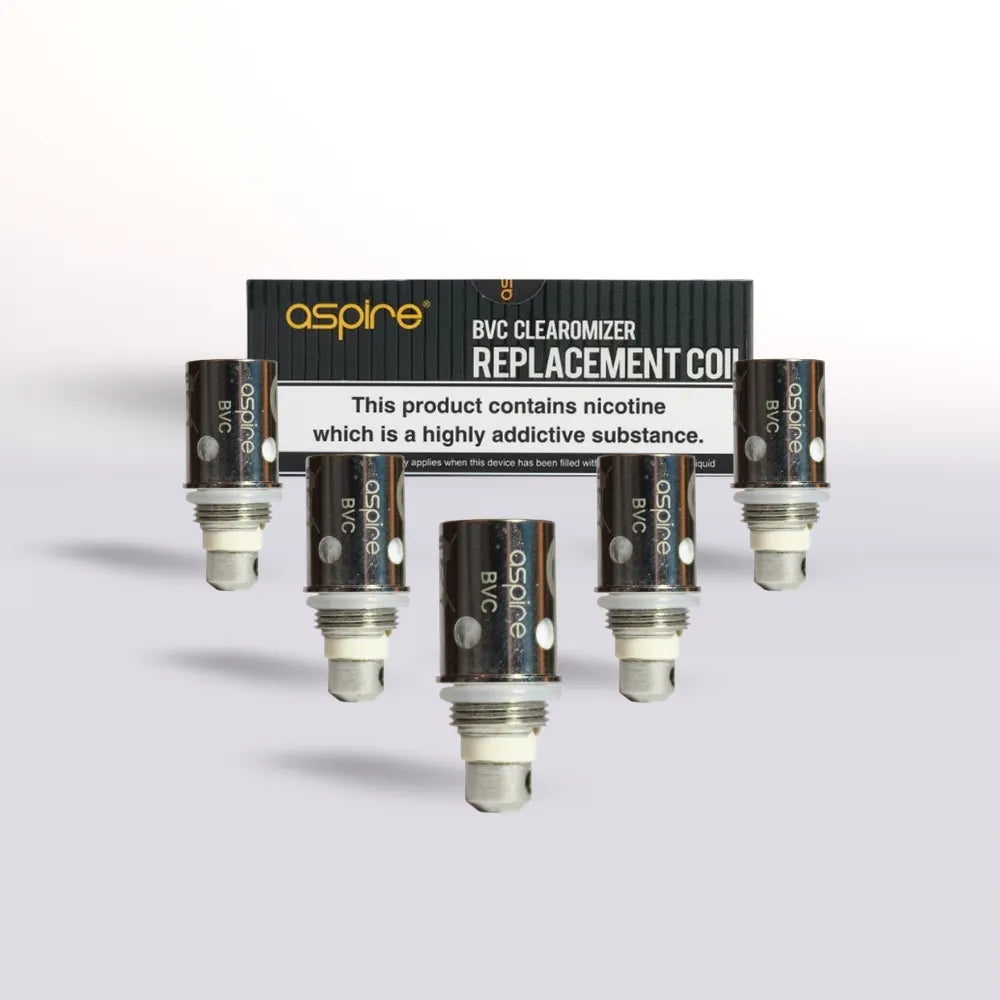
Aspire BVC Replacement Coils 1.6ohm - Pack of 5
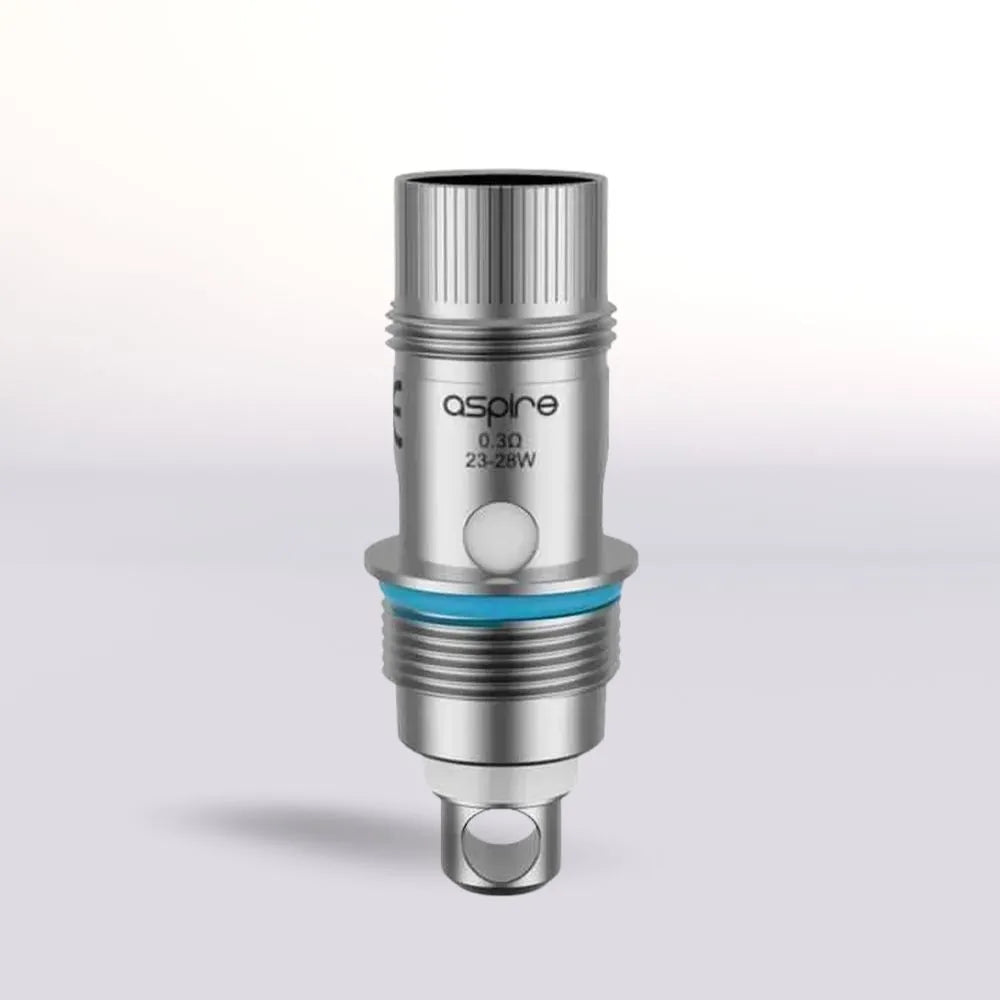
Aspire Nautilus Replacement Coils - Pack of 5
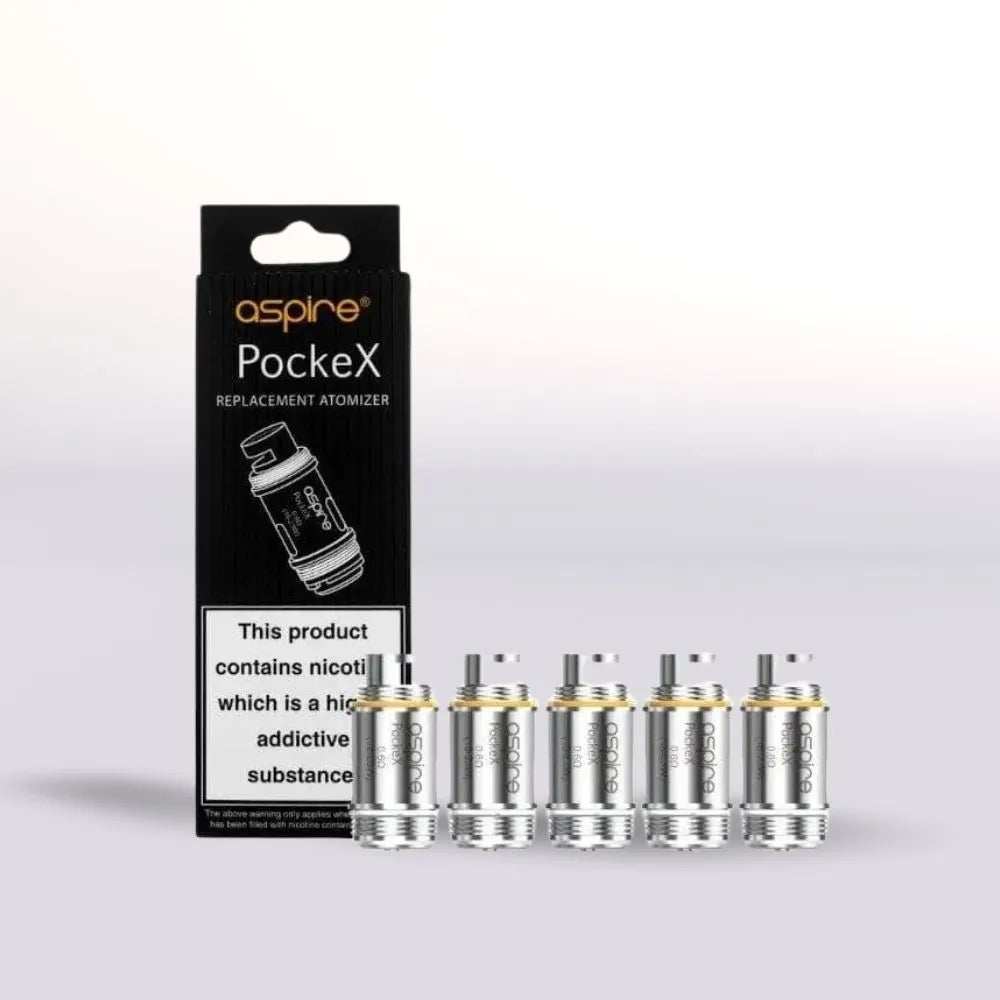
Aspire PockeX Replacement Coils - Pack of 5
Innokin Endura Prism T18E Replacement Coils - Pack of 5
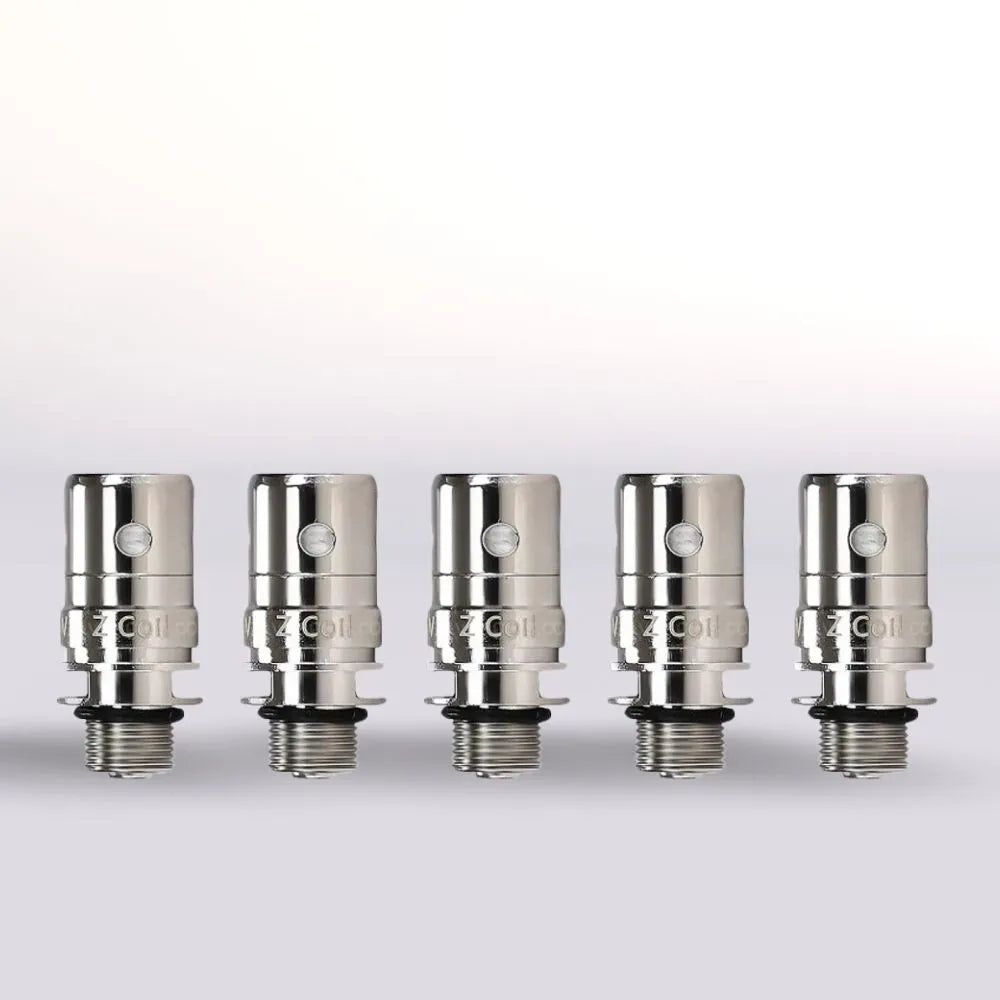
Innokin Z Replacement Coils - Pack of 5
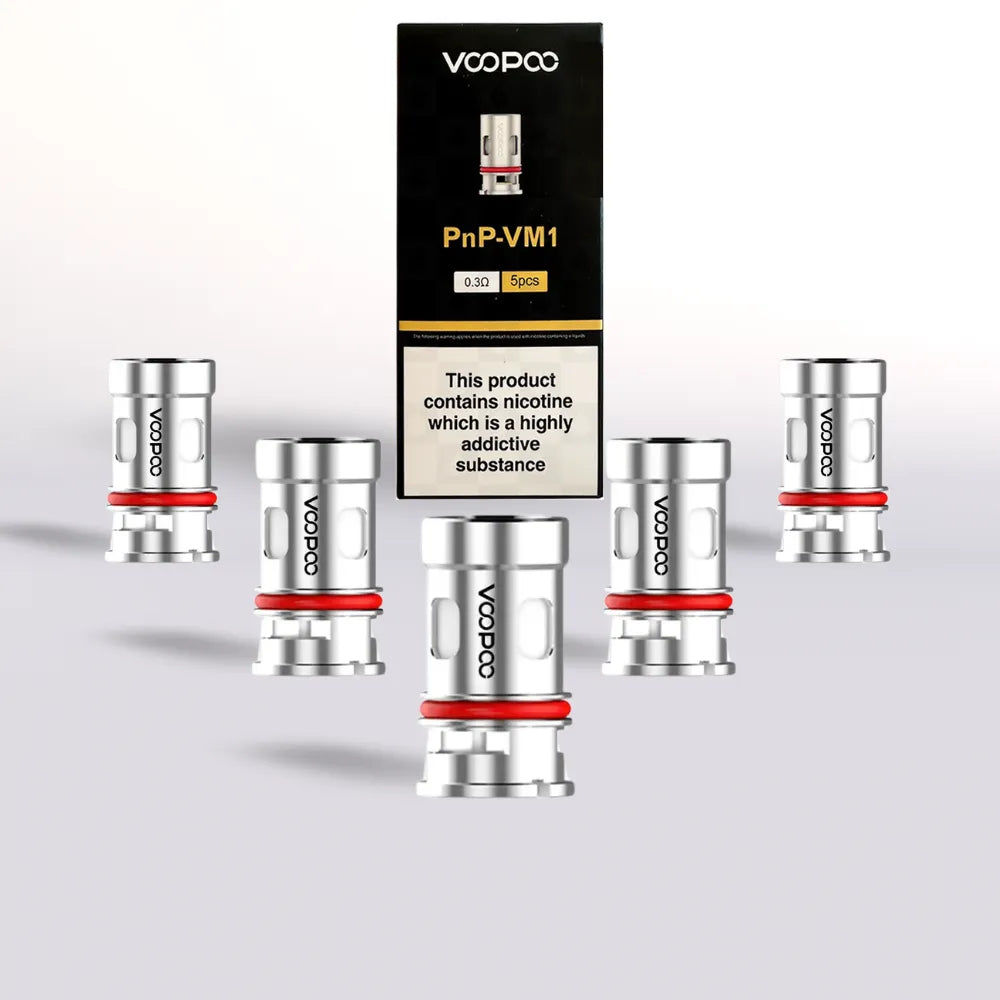
VooPoo PNP Replacement Coils - Pack of 5
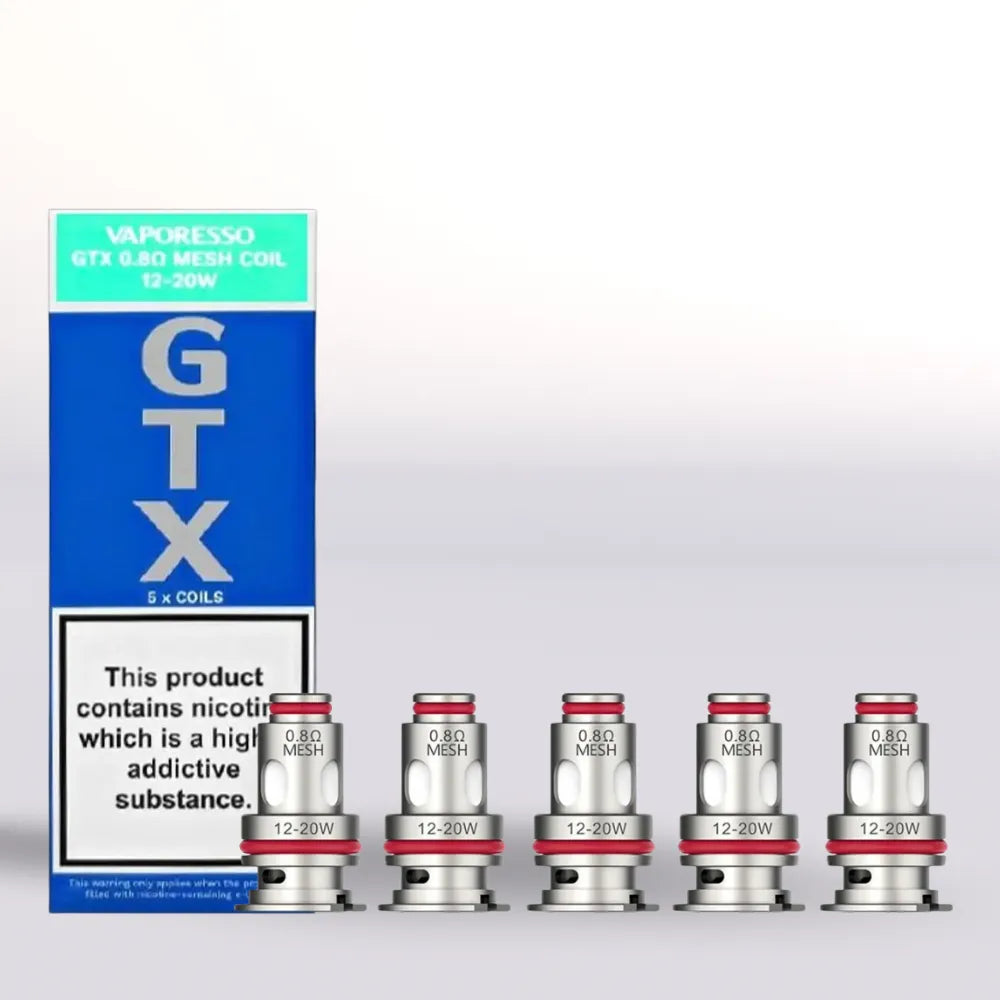
Vaporesso GTX Replacement Coils - Pack of 5
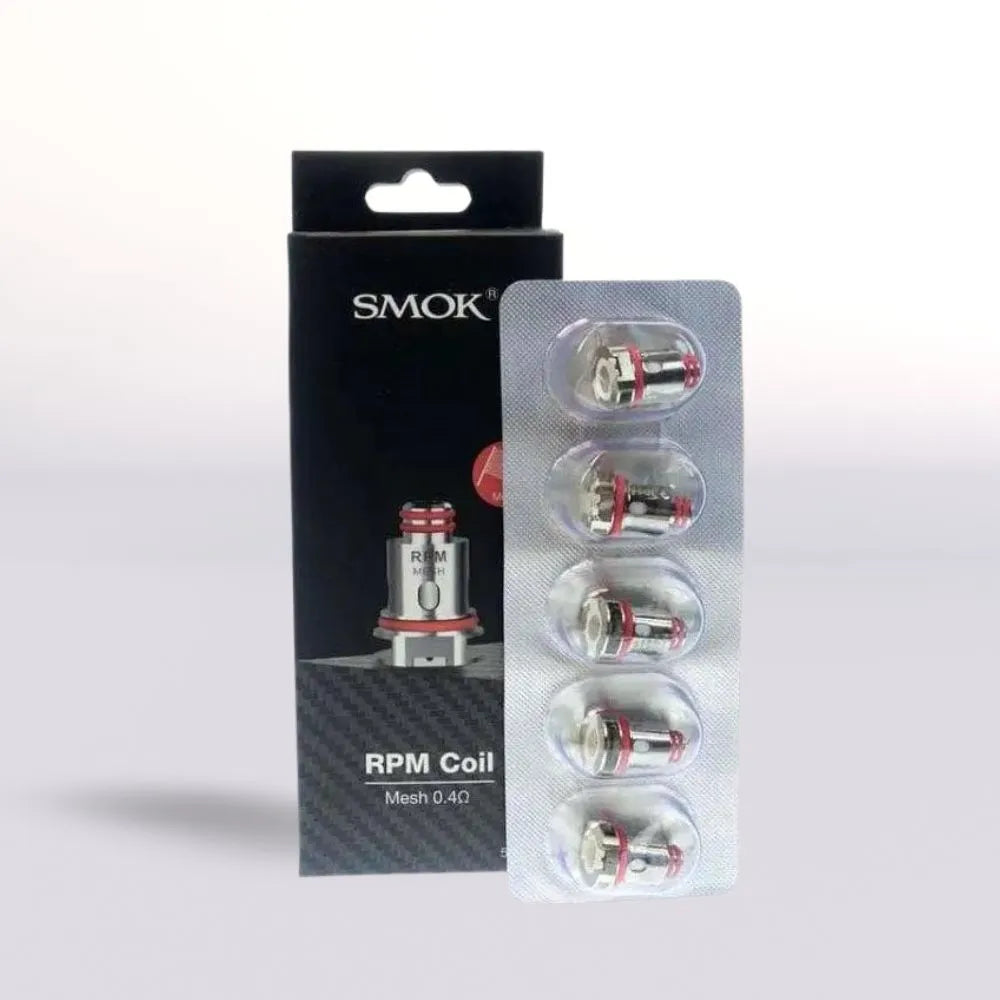
SMOK RPM Replacement Coils - Pack of 5
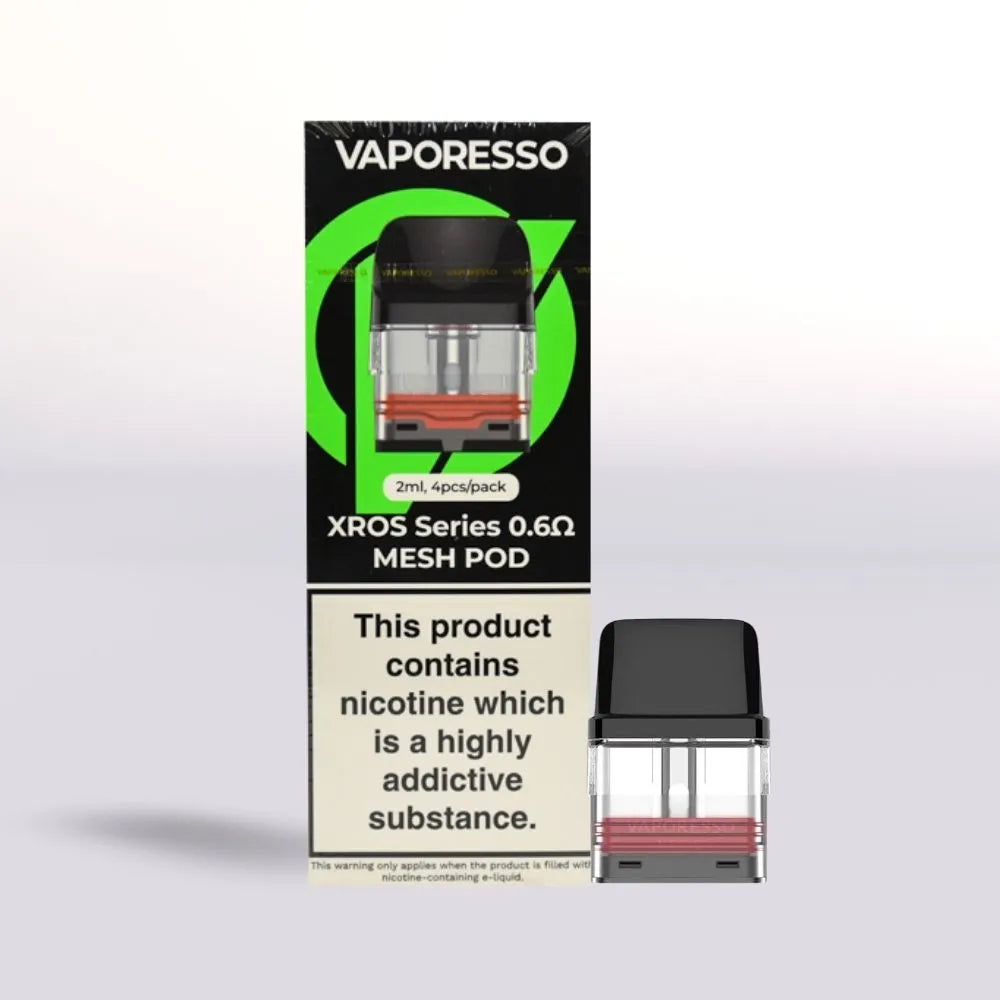
Vaporesso Xros Replacement Pods - Pack of 4
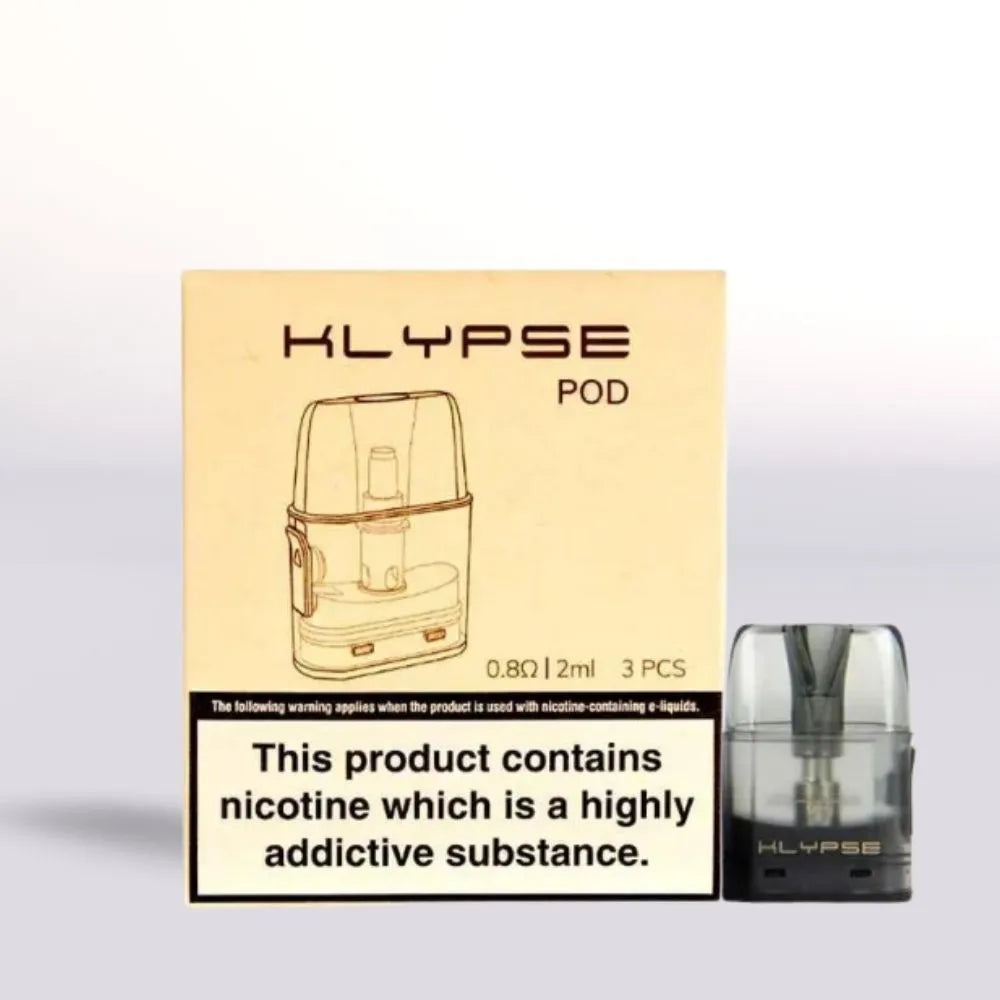
Innokin Klypse Replacement Pods - Pack of 3
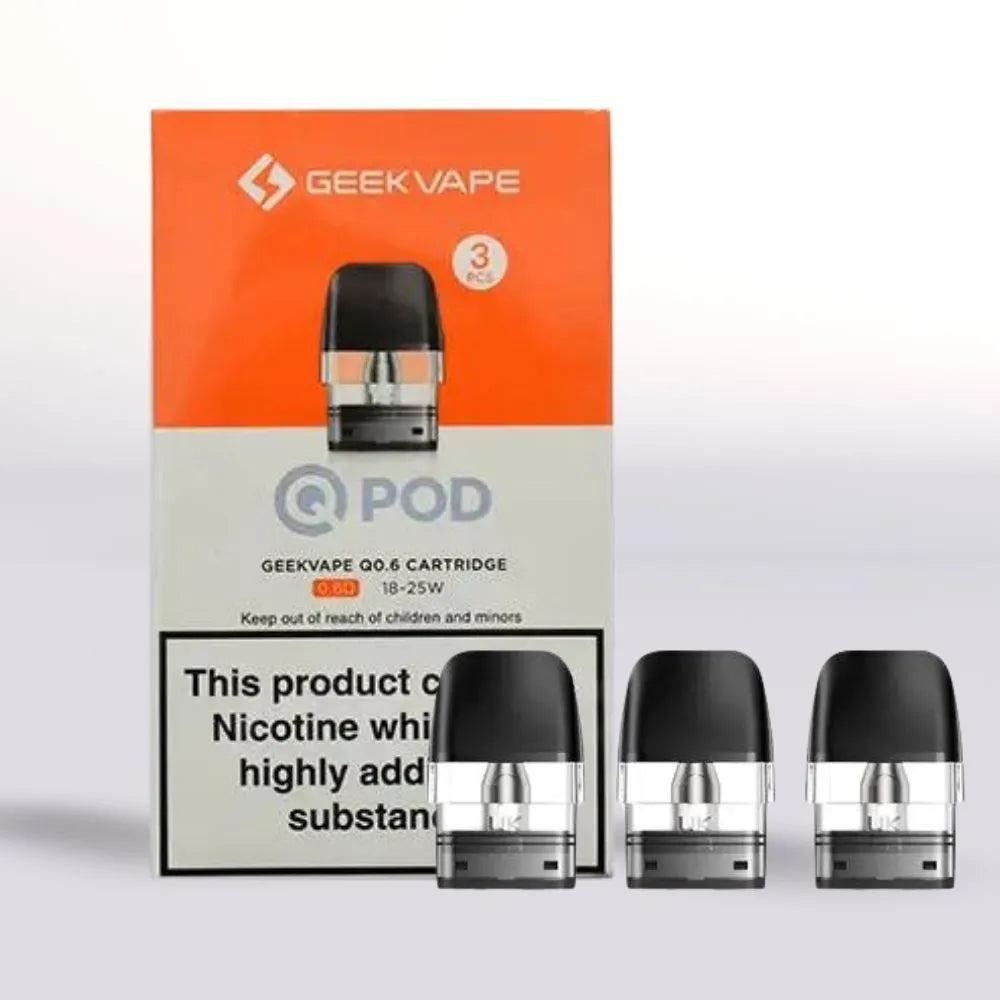
GeekVape Q Replacement Pods - Pack of 3

OPEL Replacement Pods - Pack of 2
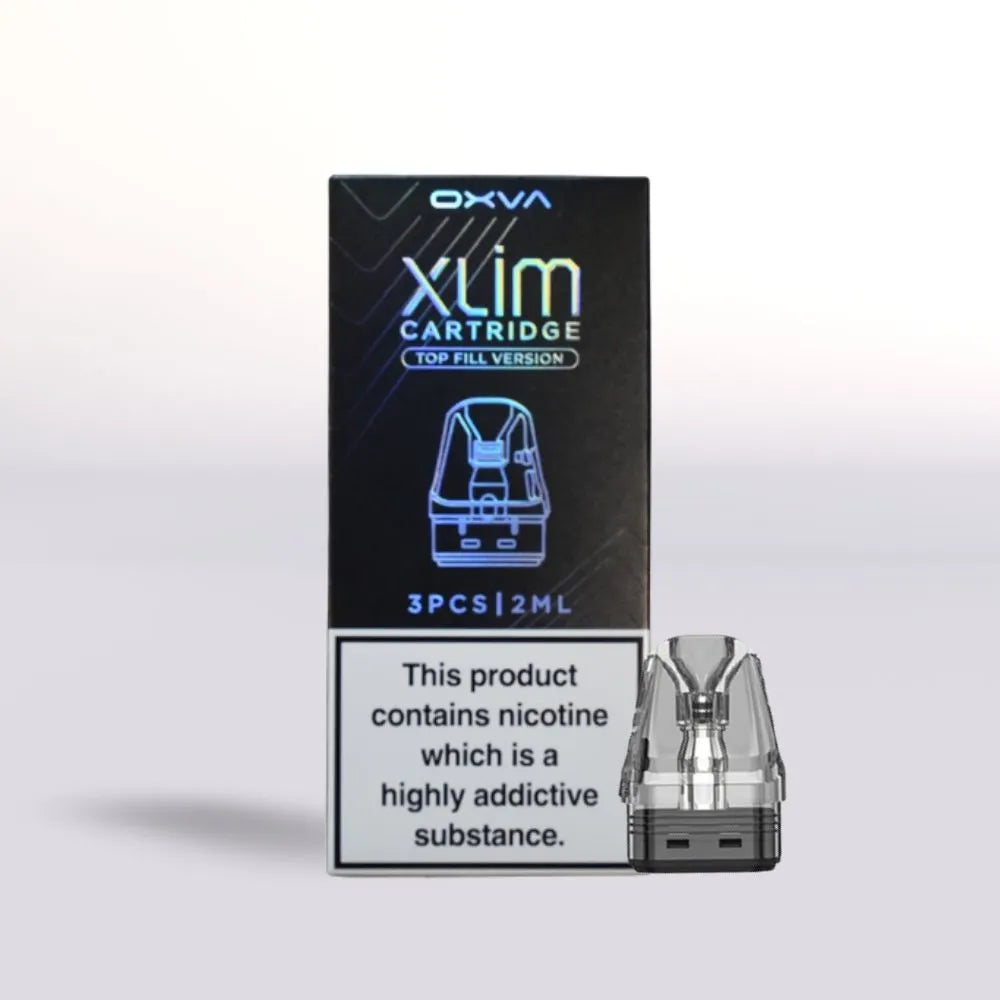
Oxva Xlim V3 Replacement Pods - Pack of 3